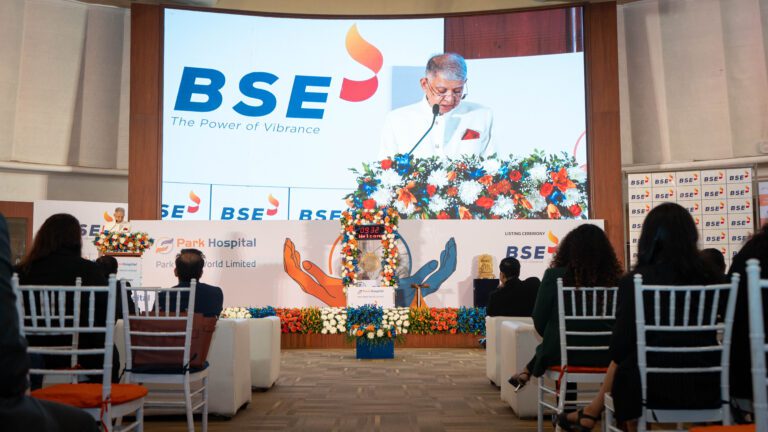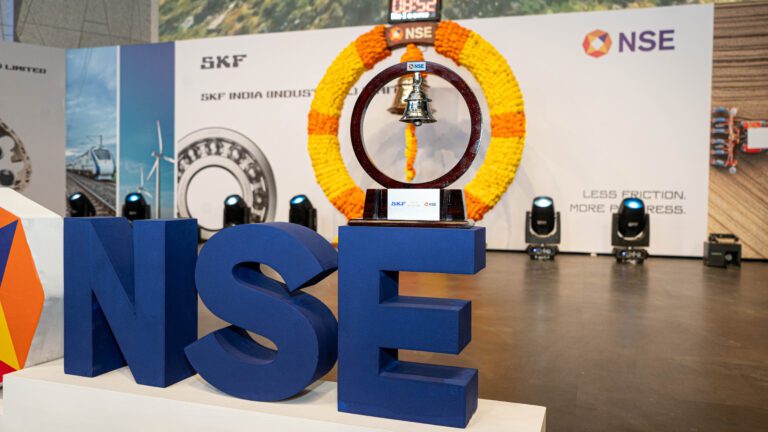
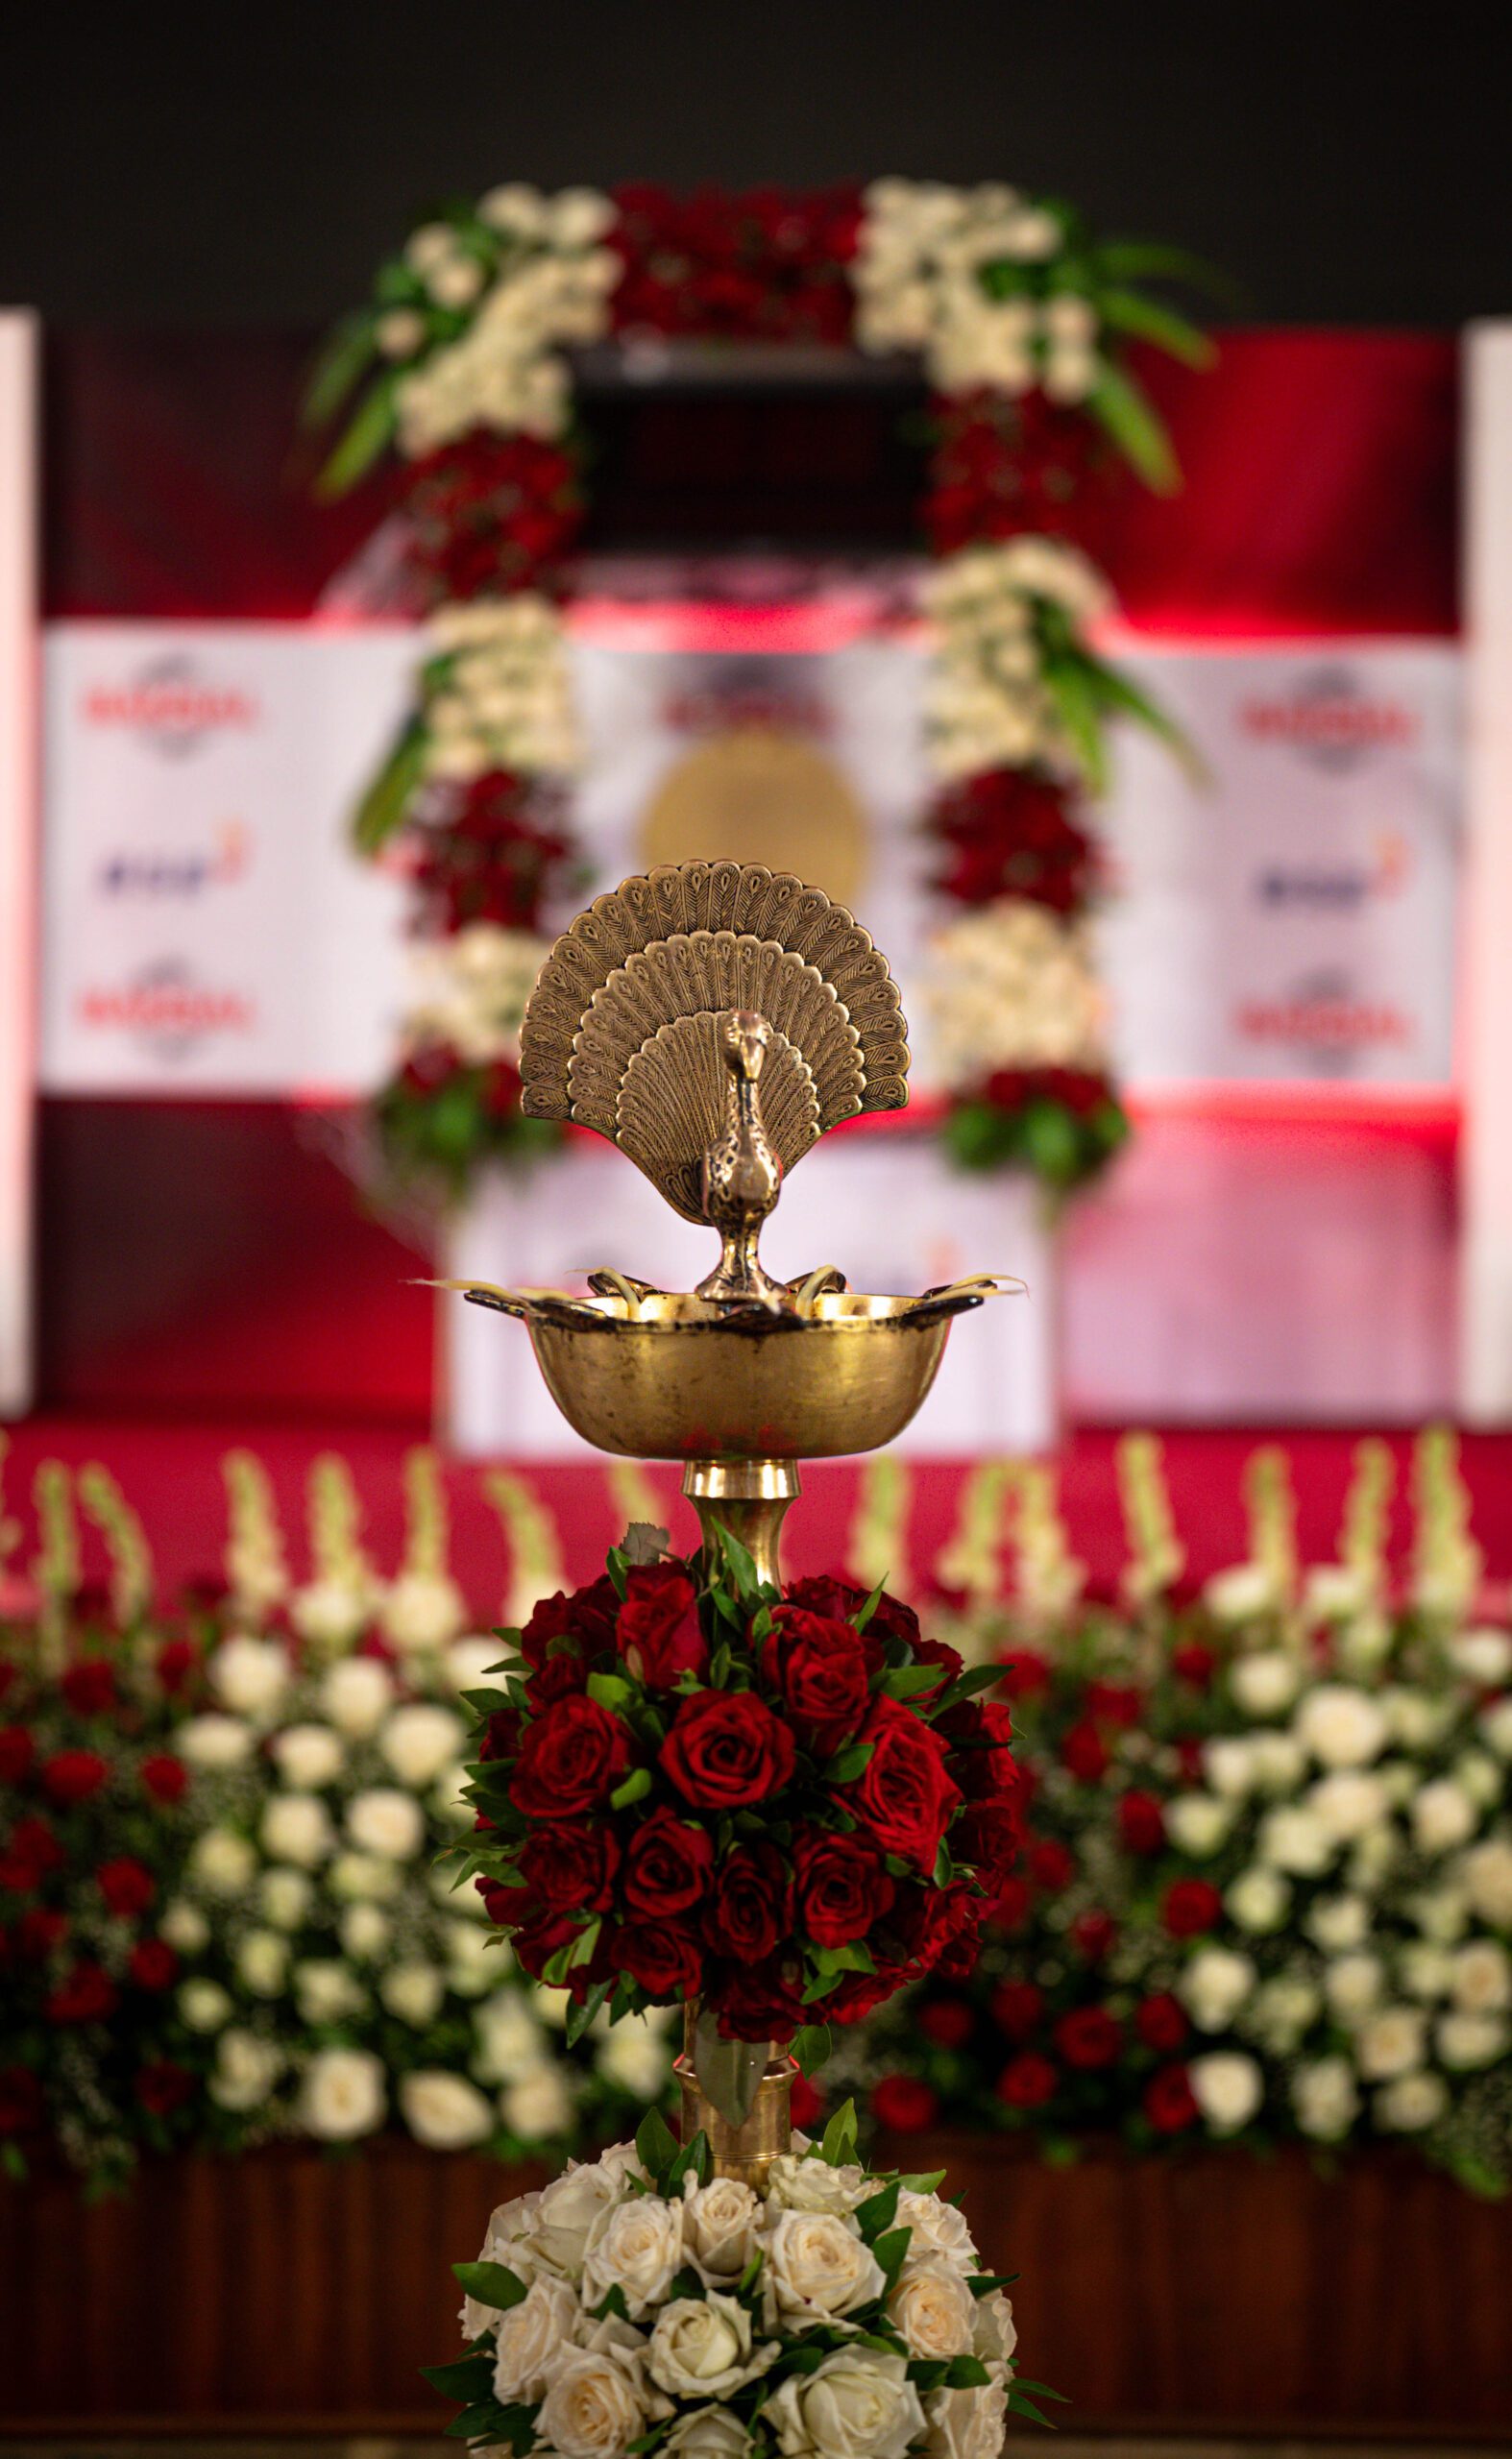
Covering events as a photographer isn’t just about clicking pictures—it’s about capturing moments that tell stories, evoke emotions and create long-lasting memories. Whether you’re shooting a wedding, a corporate conference, or a community gathering, here’s a step-by-step guide to help you prepare and nail your event photography game.
1. Get Ready Before the Big Day
Before you head to the event venue, do your homework to ensure everything goes smoothly:
- Know Your Event: Get details like the schedule, important people attending, and key moments you absolutely can’t miss. This helps you plan your shots and anticipate what’s coming.
- Scope Out the Location: If possible, visit the venue beforehand. Familiarize yourself with the space, find the best spots for photos, and (super important!) check out the lighting conditions.
- Make Your Shot List: Work with the event organizers or your clients to create a list of must-have photos. This ensures you cover all bases and don’t miss any crucial shots.
- Pack Your Gear: Double-check your equipment—cameras, lenses, flashes, batteries, memory cards, and so on, and make sure all is properly charged and your spare units and in place too if needed.
2. On the Day: Be Early, Be Prepared
When it’s event photography day, being early is your best friend:
- Arrive Ahead of Time: Get there early to set up your gear, test the lighting, and get a feel for any last-minute changes.
- Check the Light: Assess the natural and artificial lighting. Adjust your camera settings accordingly to get the best shots in any lighting condition.
- Talk to Organizers: Touch base with the event coordinators. Confirm the schedule and any specific requests they might have. It helps you stay in the loop and ready for key moments.
- Snap Those Candid Shots: While posed photos are great, don’t forget to capture those spontaneous, unscripted moments. They often tell the real story of the event.
3. During the Event: Work Your Magic
As the event unfolds, stay focused and adapt to the flow:
- Blend In, Stand Out: Be discreet while being engaged. You want to capture the action without interrupting it.
- Play with Perspectives: Experiment with different angles and compositions. Wide shots, close-ups, details—mix it up to add depth and variety to your photos.
- Group Photos Made Easy: For group shots, organize people efficiently. Make sure everyone’s visible and looking their best. A little direction goes a long way here.
4. After the Event: Tie Up Loose Ends
Once the event wraps up, your job isn’t quite done yet:
- Back Up Your Photos: Immediately back up all your photos to avoid any heart-stopping moments of loss. Use cloud storage or multiple drives to keep them safe.
- Edit and Deliver: Give your photos that final polish through editing. Make sure they meet the expectations of your clients or the event organizers. Then, deliver them promptly.
- Ask for Feedback: Reach out to get feedback from the organizers or clients. What worked? What could be better? Use their input to keep improving your skills.
Following these steps will help you not only capture stunning photos but also ensure your clients or organizers are thrilled with the results. Each event photography case is a chance to showcase your skills and creativity, so make the most of it!