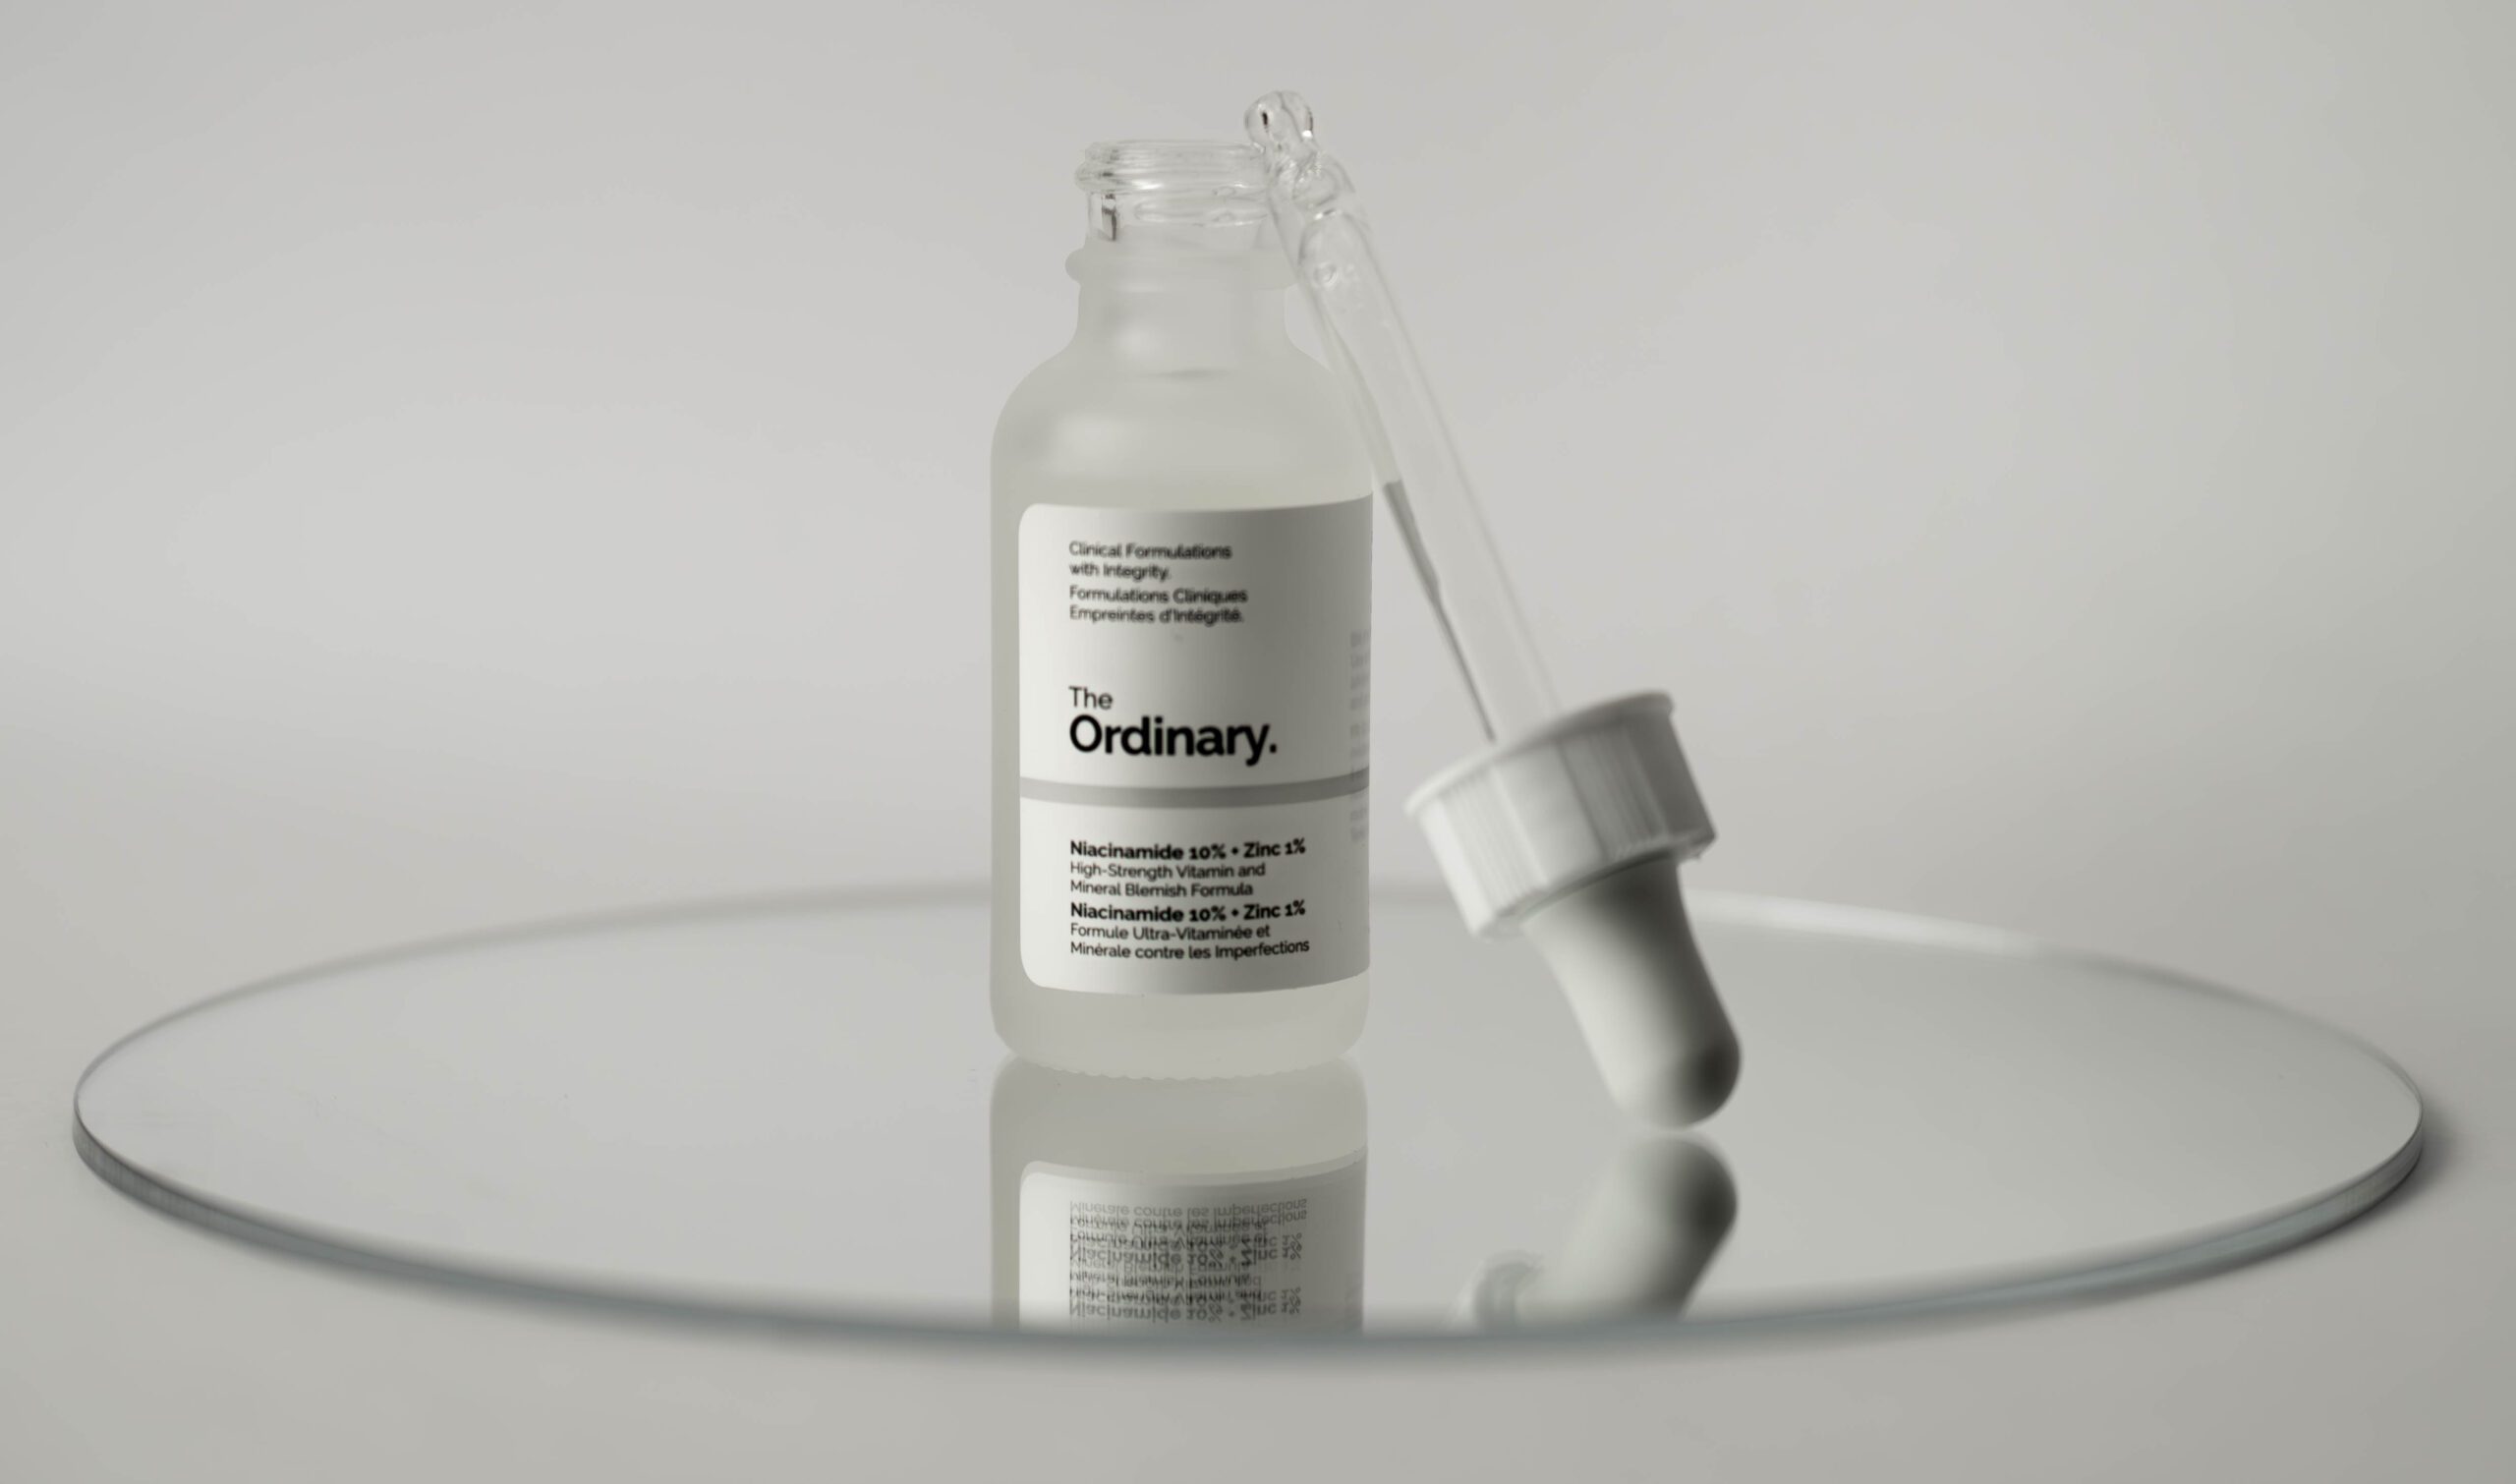
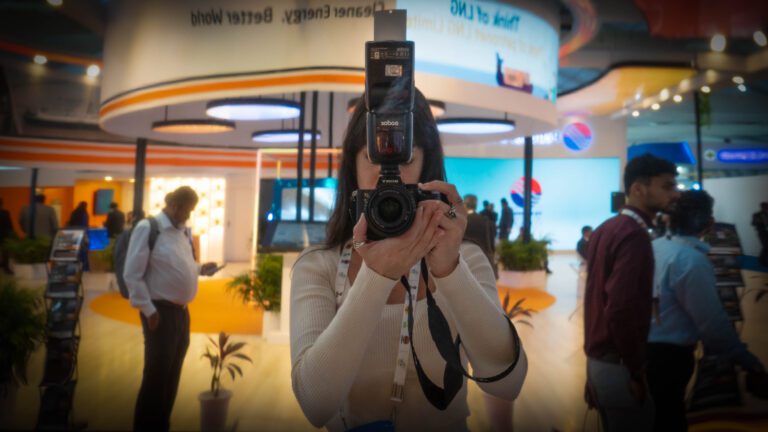
At The Ritzy Pixie we believe Photography is an art form, a way of conveying a message, and that statement is equally true for Product Photography. However, it is vital to understand some technical aspects of it to get the best results out of a session.
Here we have distilled for you the most relevant bullet points to have in mind for your next Product Photography shoot. Here we go!
1. Plan your Session: Organize your studio workflow, from product arrival to shooting schedules. A structured approach ensures consistent quality and production rates. Keep in hand all the props and gear you will require.
2. Have a Vision Board: Gather images to set the tone and mood of your shoot. It is incredibly helpful to select lighting and props accordingly.
3. Declutter your environment: Nothing worse than a messy area to shoot your Product Photography. Some order and discipline in your space will do wonders to the overall flow of your session.
4. Prep Products in Advance: Have all your products ready for photography: clean, without scratches, labels in place, you know what we mean here. This will allow you to focus in the shooting aspect of it during the session.
5. Keep your gear ready to shoot: Clean, batteries charged, accessories and wires in hand… There is nothing worse than start your Product Photography session and realize you cannot move forward because some part of your equipment is missing or not ready to use.
6. Invest in Good Quality Gear: We know how expensive photography can be. But if you want to go all in you will have to invest in a good camera, lenses and lighting equipment. But don’t worry! If you are just starting, a good phone camera and the adequate natural light can give you amazing results. Don’t give up just because you don’t have the fanciest camera in the market!
7. Use Strobe Lights: And talking about gear and lighting, we highly recommend the use of strobe lights due to their power and brightness, so you can lower your ISO and user faster shutter speeds.
8. Use a Polarizer: Polarizers are great to reduce glare on shiny products, helping you maintain a great image quality without affecting the product’s appearance.
9. Fill up the Frame: Filling the frame with the product will maximize your image presence and eliminate unnecessary elements, ensuring focus on the product itself.
10. Aperture Selection: Use higher aperture values for optimized depth of field and image sharpness, especially crucial for capturing detailed product shots.
11. White Balance: Set your camera’s white balance regularly to ensure accurate color representation and avoid editing discrepancies.
By implementing these tips, you can create a more efficient and productive photography workflow while consistently producing high-quality product images. If you have additional tips to share or questions about the content, feel free to leave a comment!


